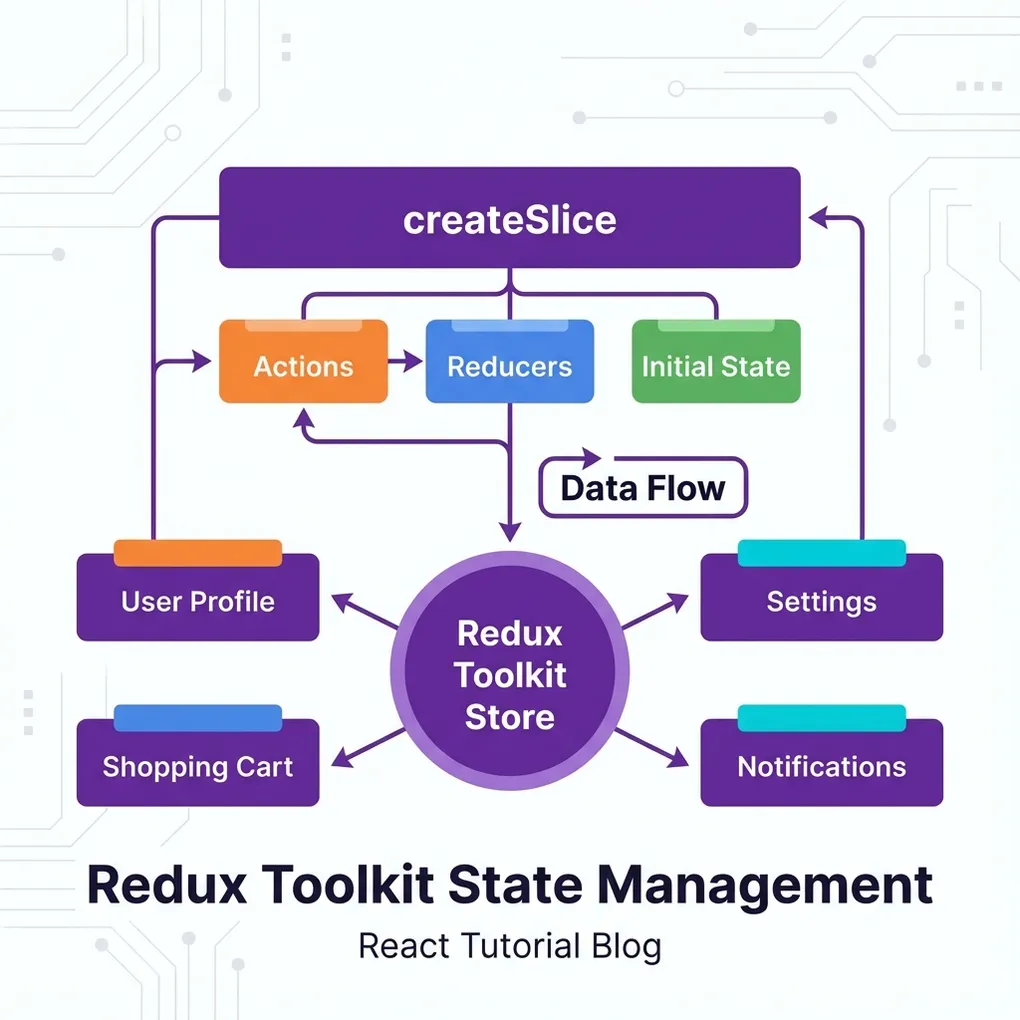
React 쇼핑몰 구조 이해하기 4편 - Redux Toolkit 상태 관리 분석
3편에서 dispatch와 useSelector를 사용하는 것을 봤죠? 이번 편에서는 그 뒤에서 동작하는 store.js 파일을 완전히 분석해볼게요.
Redux Toolkit이 어떻게 구성되어 있는지 이해하면 상태 관리 전체 흐름이 확실히 보여요!
이번 편에서 알아볼 내용
- ✅ Redux Toolkit을 쓰는 이유
- ✅ createSlice로 상태와 액션 정의하는 방법
- ✅ configureStore로 스토어 설정하는 방법
- ✅ 장바구니 기능의 실제 구현
Redux를 왜 쓸까?
문제 상황: Props drilling
graph TD
    A["App.js<br/>cart 데이터"] --> B["Layout"]
    B --> C["Sidebar"]
    C --> D["CartPreview"]
    D --> E["CartItem<br/>여기서 데이터 필요!"]

    style A fill:#ffe1e1
    style E fill:#e1ffe1
데이터가 App → Layout → Sidebar → CartPreview → CartItem으로 전달되어야 해요. 중간에 있는 컴포넌트들은 데이터가 필요 없는데도 props로 전달만 해줘야 해요. 이게 Props drilling 문제예요.
해결책: Redux
graph TD
    S["Redux Store<br/>(중앙 저장소)"]

    S --> A["App.js"]
    S --> B["Detail.js"]
    S --> C["Cart.js"]
    S --> D["어떤 컴포넌트든!"]

    style S fill:#e1d5ff
Redux를 쓰면 어떤 컴포넌트에서든 직접 데이터를 가져올 수 있어요!
store.js 전체 코드 (복사해서 사용)
src/store.js 파일을 만들어주세요:
import { configureStore, createSlice } from '@reduxjs/toolkit'

// 'user'라는 이름의 상태 만들기
let user = createSlice({
  name: 'user',
  initialState: { name: '홍길동', age: 20 },
  reducers: {
    changeName(state) {
      state.name = '손오공'
    },
    increase(state, action) {
      state.age += action.payload
    }
  }
})
export let { changeName, increase } = user.actions

// 'cart'라는 이름의 상태 만들기 (장바구니)
let cart = createSlice({
  name: 'cart',
  initialState: [
    { id: 1, imgurl: 'fruit1.jpg', name: '수박', count: 2 },
    { id: 2, imgurl: 'fruit2.jpg', name: '참외', count: 1 },
    { id: 3, imgurl: 'fruit3.jpg', name: '사과', count: 1 }
  ],
  reducers: {
    // 상품 수량 1개 늘리기
    addCount(state, action) {
      let num = state.findIndex((a) => a.id === action.payload);
      state[num].count++;
    },
    // 상품 수량 1개 줄이기
    decreaseCount(state, action) {
      let num = state.findIndex((a) => a.id === action.payload);
      if (state[num].count > 0) {
        state[num].count--;
      } else {
        alert("상품이 더 이상 없습니다.");
      }
    },
    // 장바구니에 상품 추가하기
    addItem(state, action) {
      let num = state.findIndex((a) => a.id === action.payload.id);
      if (num !== -1) {
        state[num].count++;
      } else {
        state.push(action.payload);
      }
    },
    // 장바구니에서 상품 삭제하기
    deleteItem(state, action) {
      let num = state.findIndex((a) => a.id === action.payload);
      state.splice(num, 1);
    },
    // 이름순으로 상품 정렬하기
    sortName(state, action) {
      state.sort((a, b) => (a.name > b.name ? 1 : -1));
    }
  }
})
export let { addCount, decreaseCount, addItem, deleteItem, sortName } = cart.actions

// Redux에 등록하기
export default configureStore({
  reducer: {
    user: user.reducer,
    cart: cart.reducer,
  },
})
전체 구조 다이어그램:
graph TD
    subgraph "Redux Store"
        subgraph "user 슬라이스"
            U1["state: {name, age}"]
            U2["actions: changeName, increase"]
        end

        subgraph "cart 슬라이스"
            C1["state: [{id, name, count}, ...]"]
            C2["actions: addCount, deleteItem, ..."]
        end
    end

    style U1 fill:#e1f5ff
    style C1 fill:#e1ffe1
createSlice 상세 분석
기본 구조
let user = createSlice({
  name: 'user',                              // 슬라이스 이름
  initialState: { name: '홍길동', age: 20 }, // 초기 상태
  reducers: {                                // 상태를 바꾸는 함수들
    changeName(state) {
      state.name = '손오공'
    },
    increase(state, action) {
      state.age += action.payload
    }
  }
})| 속성 | 설명 | 예시 |
|---|---|---|
name | 슬라이스 구분용 이름 | 'user', 'cart' |
initialState | 초기 상태값 | { name: '홍길동' } |
reducers | 상태를 바꾸는 함수들 | changeName, increase |
reducer 함수의 두 가지 형태
reducers: {
  // 1. 파라미터 없이 상태만 바꾸는 경우
  changeName(state) {
    state.name = '손오공'
  },

  // 2. 파라미터를 받아서 상태를 바꾸는 경우
  increase(state, action) {
    state.age += action.payload  // action.payload = 전달받은 값
  }
}
action.payload 흐름:
sequenceDiagram
    participant C as 컴포넌트
    participant D as dispatch
    participant R as reducer
    participant S as state

    C->>D: dispatch(increase(5))
    D->>R: action = { type: 'user/increase', payload: 5 }
    R->>S: state.age += 5
    S-->>C: 새로운 상태로 리렌더링
cart 슬라이스 상세 분석
장바구니 기능을 하나씩 살펴볼게요:
1. 수량 증가 (addCount)
addCount(state, action) {
  let num = state.findIndex((a) => a.id === action.payload);
  state[num].count++;
}
graph LR
A["dispatch(addCount(2))"] --> B["id가 2인 상품 찾기"]
B --> C["인덱스 1 반환"]
C --> D["state[1].count++"]
D --> E["참외 수량 2가 됨"]
style A fill:#e1f5ff
style E fill:#e1ffe12. 상품 추가 (addItem)
addItem(state, action) {
  let num = state.findIndex((a) => a.id === action.payload.id);

  if (num !== -1) {
    state[num].count++;       // 이미 있으면 수량만 +1
  } else {
    state.push(action.payload); // 없으면 새로 추가
  }
}
graph TD
A["addItem 실행"] --> B{"이미 있는 상품?"}
B -->|Yes| C["count++"]
B -->|No| D["state.push()"]
style B fill:#fff4e1
style C fill:#e1f5ff
style D fill:#e1ffe13. 상품 삭제 (deleteItem)
deleteItem(state, action) {
  let num = state.findIndex((a) => a.id === action.payload);
  state.splice(num, 1);
}
[!NOTE] Redux Toolkit에서는
state.push(),state.splice()처럼 직접 수정해도 괜찮아요! 내부적으로 Immer 라이브러리가 불변성을 관리해줍니다.
configureStore 설정
export default configureStore({
  reducer: {
    user: user.reducer,
    cart: cart.reducer,
  },
})
Store 구조:
graph TD
    subgraph "configureStore"
        R["reducer 객체"]
        R --> U["user: user.reducer"]
        R --> C["cart: cart.reducer"]
    end

    subgraph "최종 state"
        S["state"]
        S --> SU["state.user = {name, age}"]
        S --> SC["state.cart = [{...}, {...}]"]
    end

    style R fill:#ffe1e1
Redux Toolkit vs 순수 Redux 비교
Redux Toolkit이 얼마나 편한지 비교:
순수 Redux (예전 방식)
// 액션 타입 정의
const ADD_ITEM = 'cart/addItem';

// 액션 생성자
function addItem(item) {
  return { type: ADD_ITEM, payload: item };
}

// 리듀서
function cartReducer(state = [], action) {
  switch (action.type) {
    case ADD_ITEM:
      return [...state, action.payload];  // 불변성 직접 관리
    default:
      return state;
  }
}
Redux Toolkit (현재 방식)
let cart = createSlice({
  name: 'cart',
  initialState: [],
  reducers: {
    addItem(state, action) {
      state.push(action.payload);  // 직접 수정 OK!
    }
  }
})
[!TIP] Redux Toolkit은 액션 타입 정의, 액션 생성자, 불변성 관리를 자동으로 해줘요!
정리
오늘 4편에서 분석한 내용:
graph LR
    A["createSlice"] --> B["name<br/>initialState<br/>reducers"]
    B --> C["actions 자동 생성"]
    C --> D["export 해서 사용"]

    E["configureStore"] --> F["reducer 등록"]
    F --> G["Store 완성"]

    style A fill:#e1d5ff
    style E fill:#ffe1e1
핵심 포인트:
- 📦 createSlice - 상태(initialState) + 액션(reducers)을 한 번에 정의
- 🎬 action.payload - dispatch할 때 보내는 데이터
- ✏️ state 직접 수정 - Redux Toolkit이 불변성 알아서 관리
- 🏪 configureStore - 만든 슬라이스들을 스토어에 등록
다음 마지막 편에서는 게시판 CRUD 구조를 분석해볼게요!
📚 관련 글 더 읽어보기
React 쇼핑몰 구조 이해하기 5편 - 게시판 CRUD 구조 분석
React 쇼핑몰 코드 분석 마지막 편! 게시판의 Create, Read, Update, Delete 기능이 어떻게 구현되어 있는지 분석합니다.
읽어보기 →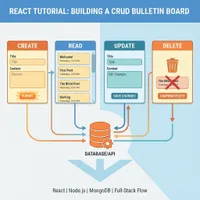
React 쇼핑몰 구조 이해하기 1편 - 프로젝트 구조와 앱의 시작점
이미 완성된 React 쇼핑몰 코드를 분석하며 구조를 이해합니다. 1편에서는 index.js에서 App.js까지 데이터가 어떻게 흘러가는지 전체 구조를 파악합니다.
읽어보기 →
React 쇼핑몰 구조 이해하기 3편 - 상품 상세와 장바구니 흐름
React 쇼핑몰 코드 분석 3편. useParams로 동적 라우팅을 이해하고, Redux로 장바구니에 상품이 추가되는 흐름을 분석합니다.
읽어보기 →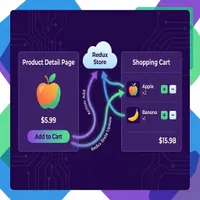
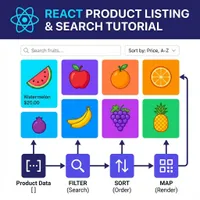
React 쇼핑몰 구조 이해하기 2편 - 상품 목록과 검색/정렬 분석
React 쇼핑몰 코드 분석 2편. 상품 데이터가 화면에 어떻게 표시되는지, 검색과 정렬은 어떻게 동작하는지 map, filter, sort 메서드를 통해 알아봅니다.
읽어보기 →